
Short answer: four stages — planning, placement, healing, and restoration — and most of the calendar time is healing at home, not appointments.
Knowing the shape of the process makes it far less intimidating. Here’s each stage, with a realistic sense of timing.
Stage 1: Consultation and planning
This is the stage that determines everything downstream, and it’s worth doing thoroughly.
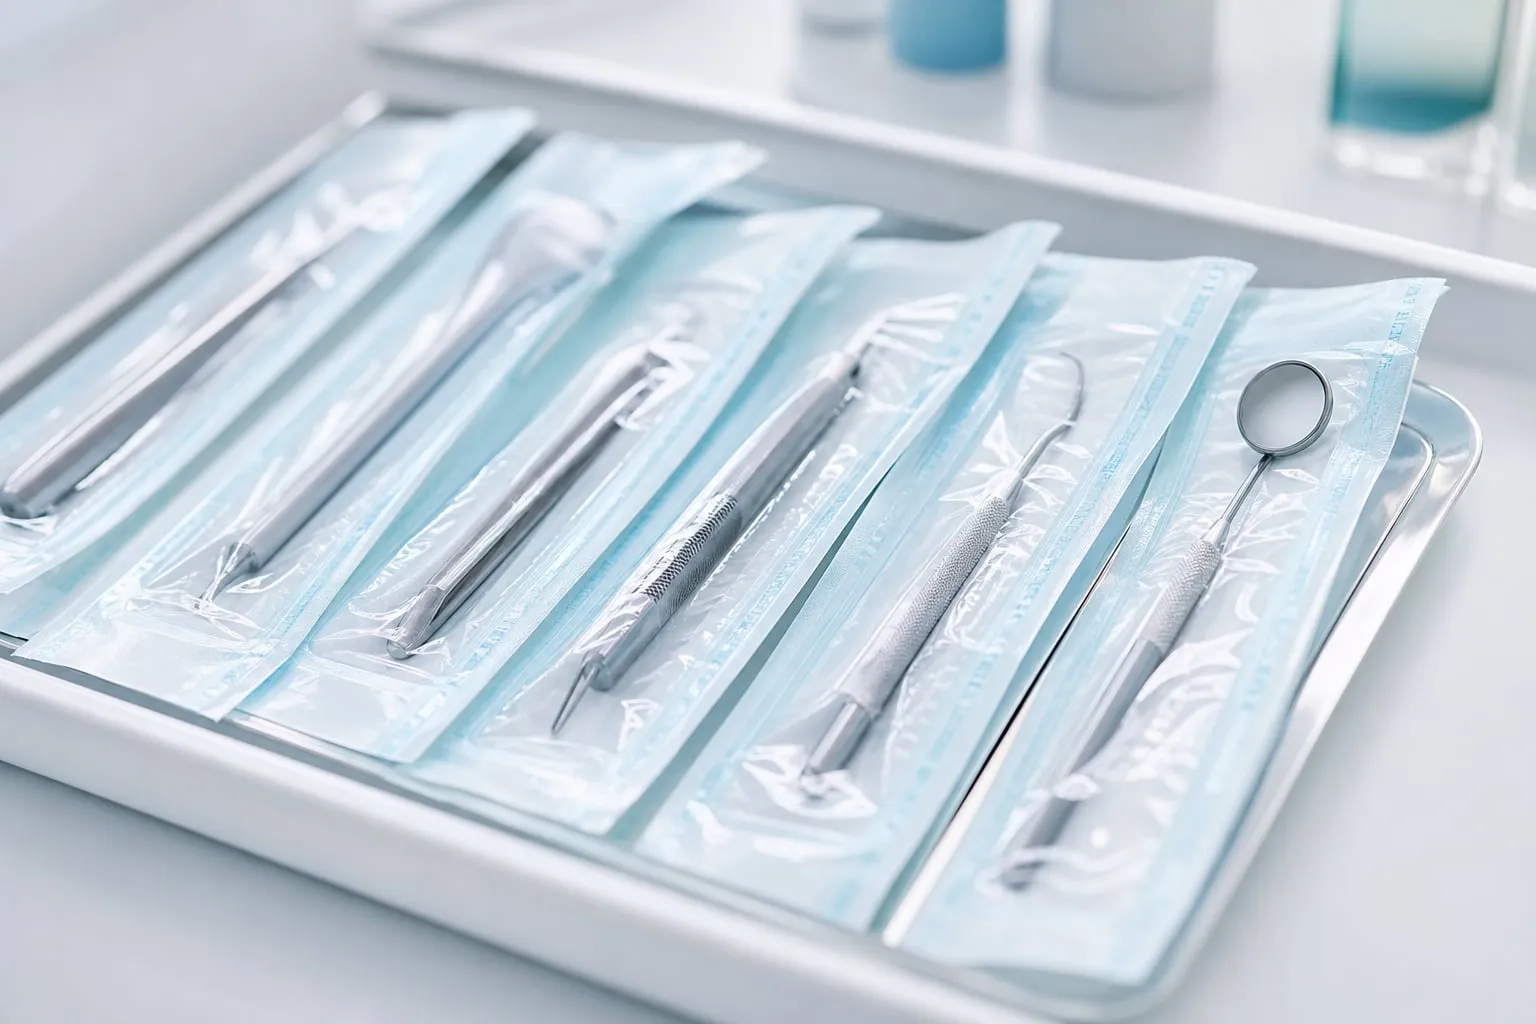
We review your dental and medical history, examine your mouth and gums, and take 3D imaging to see your bone volume, density, and the position of nerves and sinuses. That imaging is what makes it possible to plan the implant position precisely rather than approximately.
You leave with a written treatment plan and a clear cost — not an estimate that changes later. If you want to know what to bring and what to ask, see what happens at your first visit.
Sometimes there’s a step before the implant. If a tooth needs removing, or if imaging shows insufficient bone, extraction or bone grafting comes first and adds healing time. This isn’t a setback — it’s what gives the implant a solid foundation.
Stage 2: Implant placement
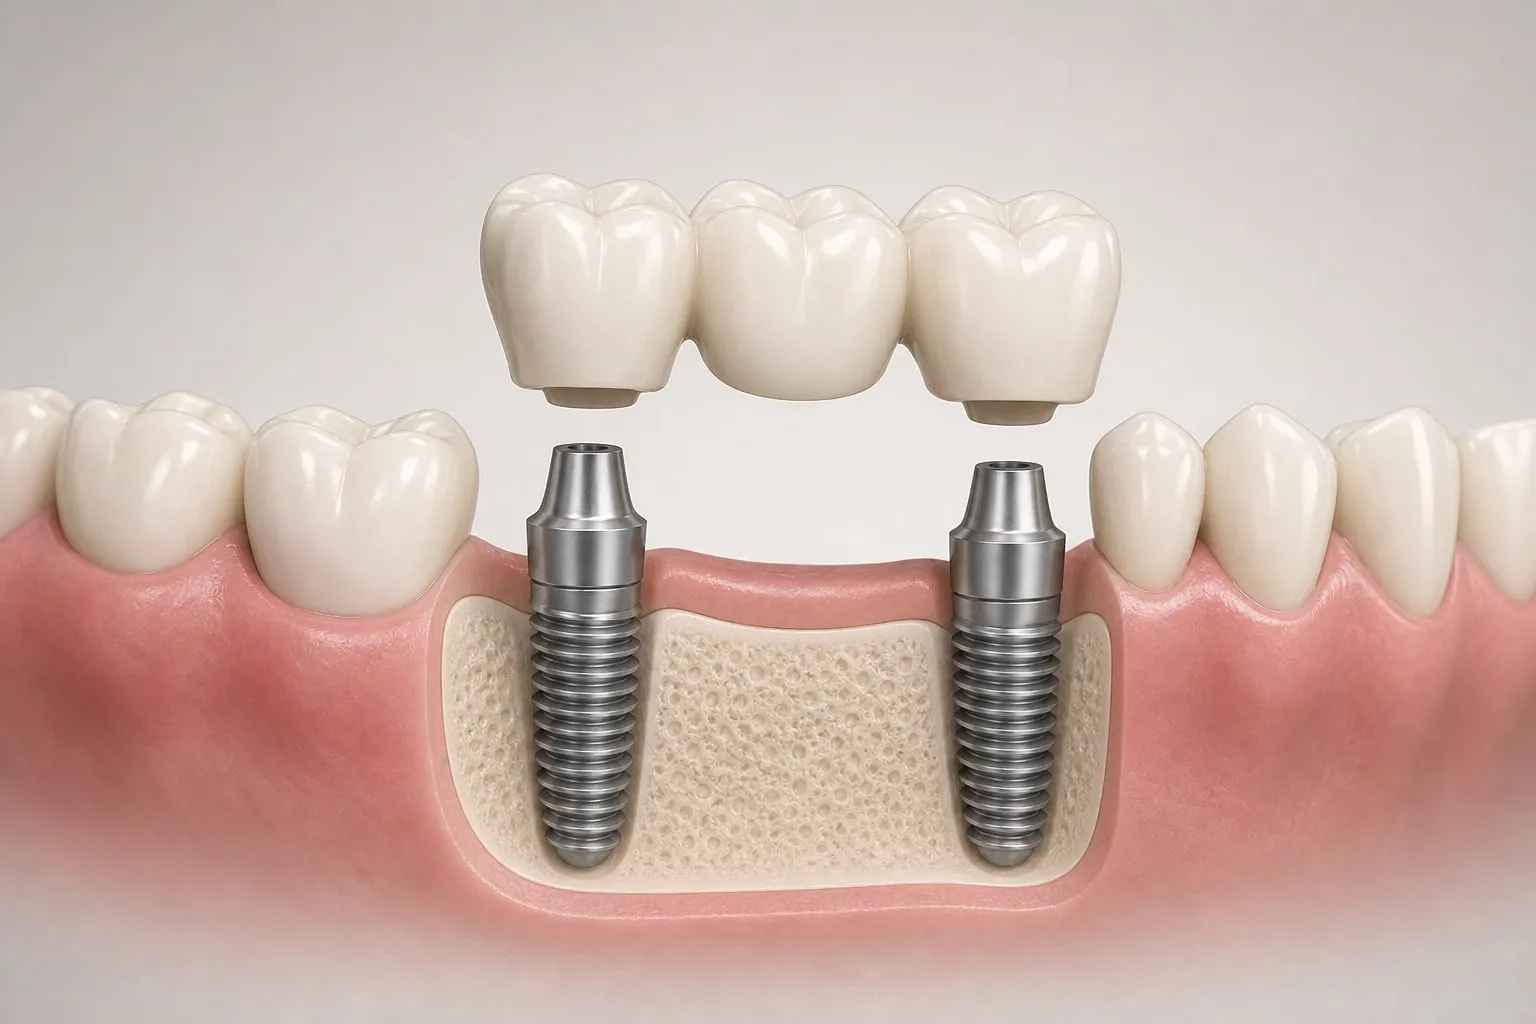
The titanium post is placed into the jawbone. The site is fully numbed with local anesthesia, and sedation options are available for patients who want them.
What patients typically report during placement is pressure and movement rather than pain — the nerves in a properly anesthetized area don’t transmit pain signals. Afterward, mild soreness and swelling are normal and generally peak in the first day or two before easing.
Most people plan a quiet day after and return to normal routine quickly, though this varies with the complexity of your case.
Stage 3: Healing and osseointegration
This is the longest stage and the one you mostly spend at home.
Over the following months, bone grows against and bonds to the implant surface — osseointegration. This is the biological process that gives an implant its stability, and it can’t be rushed. Commonly this takes on the order of a few months, longer if grafting was involved.
During this time:
- You may wear a temporary restoration, especially in visible areas
- We check in to confirm healing is on track
- Normal eating gradually resumes — see what you can eat after surgery
- Keeping the area clean matters more than almost anything else
For a fuller picture, read our recovery and aftercare guide.
Stage 4: Your final restoration
Once the implant has integrated, we attach the abutment and your custom restoration — a crown for a single tooth, a bridge for multiple teeth, or a full arch for All-On-4.
The restoration is made to match the shape, size, and shade of your natural teeth. This stage typically involves impressions or a digital scan, then fitting and adjusting the final piece so your bite feels right.
So how long does the whole thing take?
Honestly: it depends on your starting point. A straightforward single implant in good bone is on the shorter end. Add an extraction, a graft, or a sinus lift and the timeline extends by months.
Be cautious of anyone promising a full implant journey in days. Bone fusion takes the time it takes, and compressing it is where problems start.
After the final crown
Care is close to caring for natural teeth: brush, clean between and around the implant daily, and keep routine visits. Implants can’t get cavities, but the gum and bone around them can become inflamed — which is the single biggest factor in how long implants last.
Questions about any stage?
We’ll walk you through exactly what your case would involve, with timing and cost in writing. Request your free consultation or call (949) 773-4170.
This article is general education, not a diagnosis. Timelines and results vary by individual; a personalized evaluation is required to determine what may be right for you.